1. Go to **Settings** → **Data Collection** → **Automation & Feed Integrations**, and search for Yoda. Click **Add instance**.

We will not enter an API key, but will instead use the free option with a limited number of API calls.
2. To test connectivity, click the **Test** button. If the connection is successful, you will see Success and the date/time displayed.
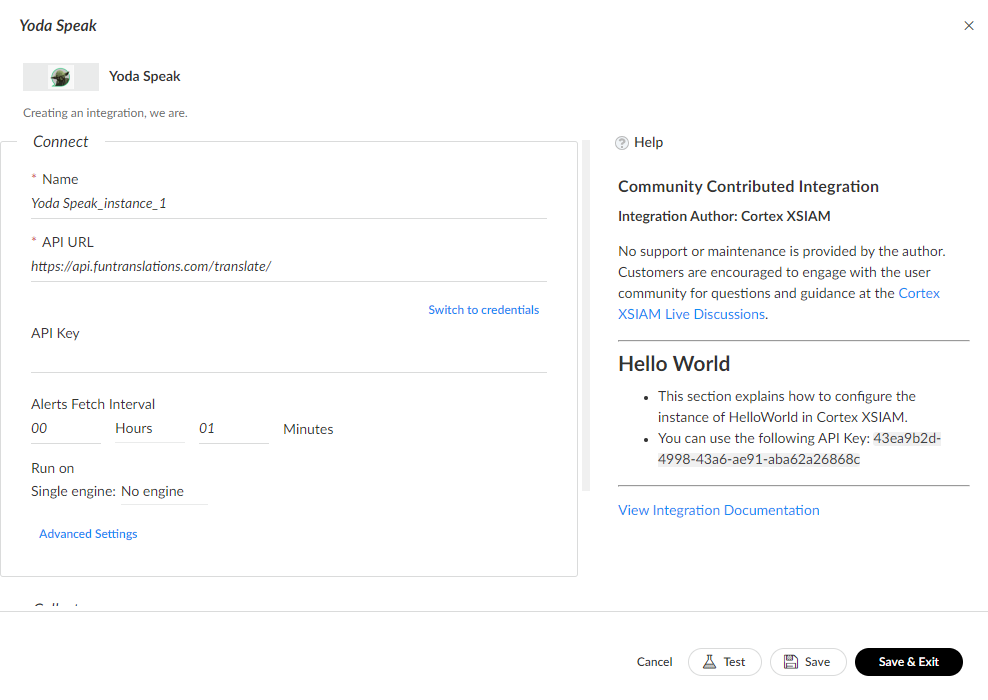
3. Click **Save & Exit**.
<div data-gb-custom-block data-tag="hint" data-style="info" class="hint hint-info"><p><strong>Note</strong></p><p>If you have an integration open in two different tabs, you may encounter an error where your changes aren’t saved. In this case, take a screenshot of your changes, close both tabs, and then reopen one tab. Enter your changes again and save.</p></div>
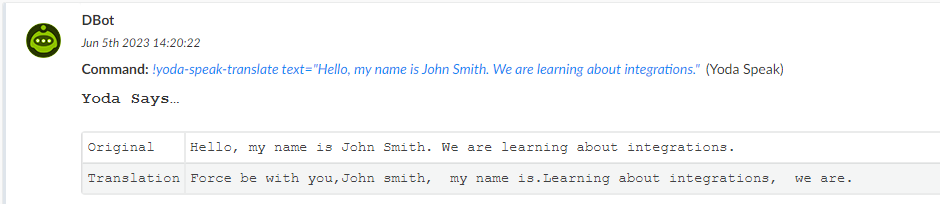
4. To test the integration, create a new incident. At the CLI, enter `!yoda-speak-translate` and any English string for the argument, for example "Hello, my name is John Smith. We are learning about integrations."

In the War Room, you can see the table we created with the `tableToMarkdown` function, with the results.
5. View the integration output in the context.
In this example, `YodaSpeak` is the root for `The Force`. If the translation changes the next time we run the command, the translation field will be updated.
### Add the sample integration to a playbook
You can see the power of integrations when you include them in a playbook. We will create a playbook that translates the `Details` field in an incident into Yoda Speak and then prints it to the War Room.
1. Go to the **Playbooks** page and click **+New Playbook**.
2. Name the playbook Yoda Speak.
3. In the task library, search for yoda and click **Add**.
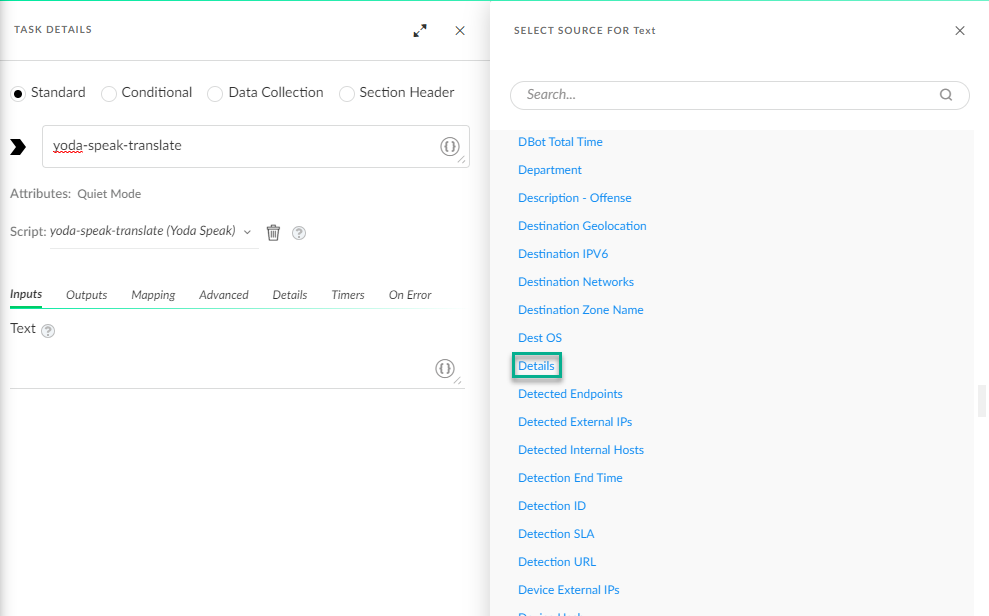
4. You can see there is a field for text, which is a required argument. Instead of typing our text here, we want to pull the text string from incident `Details`.
1. Click the curly brackets, then Alert details+Details.
2. Click **Close** and then **Save**.
5. Add a print task. Click **+Create Task** and name it print. In the task library, search for `print` and select the **Print** script.
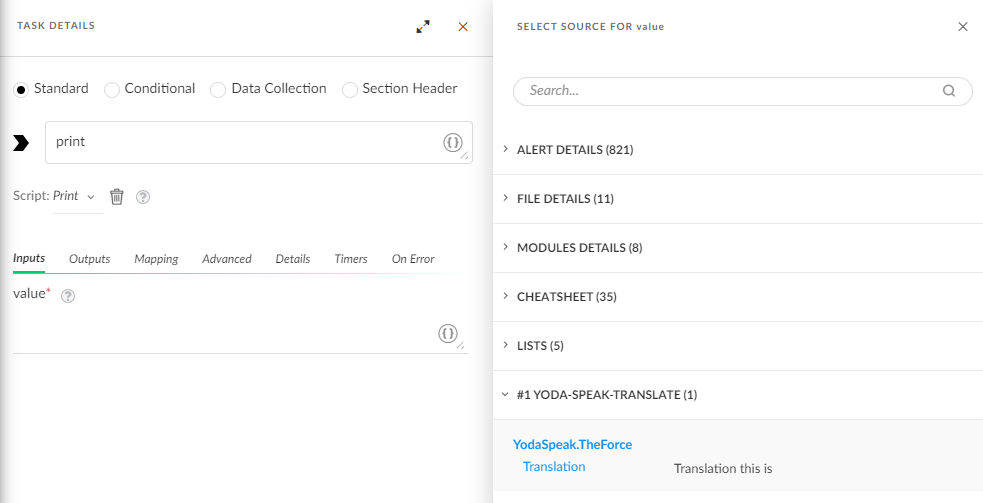
6. Once again, we want to pull our text from the incident, so click the curly brackets. Our options now include `yoda-speak-translate`.
7. Under `yoda-speak-translate`, choose **Translation** and click **Close** and then **Save**.
8. Connect the tasks in the playbook. Use your cursor to create lines between **Playbook Triggered** and **yoda-speak-translate** and between **yoda-speak-translate** and **print**.
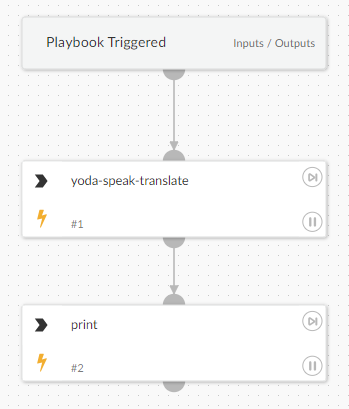
9. Save the playbook.
10. Test the playbook. Click **Edit**, then click **Debugger Panel** and then click **New Mock Alert**. Select an alert with a **Description** field. Click **Run**.
Check the **Context** in the Debugger Panel for the YodaSpeak output. See [Debugging](../../testing/debugging) for more details.
This example integration is now complete, and we can use it throughout Cortex XSIAM.
Real world integrations are usually more complex than our example. Like any code, integrations require maintenance and can be extended over time, for example with new features and commands.
To ensure integrations perform as expected, packs can have [unit tests](../../testing/unit-testing), as well as [test playbooks](../../testing/test-playbooks). Learn more about [contributing content](../../contributing-content).