Connect Docker Hub registry ↗
The Docker Hub registry data source allows you to connect your public or private Docker Hub account to scan and secure container images against vulnerabilities, malware, and exposed secrets.
License type: This feature is included with a Cortex XSIAM Premium license. It is also included with any other Cortex XSIAM product that has the Cloud Posture Security or the Cloud Runtime Security add-on.
How to connect Docker Hub registry
Follow the wizard to connect your Docker Hub registry with Cortex XSIAM.
- Navigate to Settings → Data Sources & Integrations and click + Add New.
- On the Add Data Sources or Integrations page, search for Docker Hub, then hover over it and click Add.
- The Instance Name is automatically populated. You can change it to a more meaningful name.
- Choose the Scan Mode, and then follow the steps for that mode to configure the connection.
Cloud Scan
Security scanning is performed in the Cortex XSIAM environment when you select this mode.
-
Select the appropriate Cloud Provider and Region for the Cortex Cloud environment to use for registry scanning.
As a best practice, choose the region closest to your registry deployment to achieve the best scanning throughput and potentially reduce cloud costs.
- (Optional) Enable Allow access by IPs to specify a static IP address for the scanner to use. Make sure the static IP is allowed through your firewall so the scanner can access the registry during the scanning process.
- Choose the relevant Repository Access for scanning:
- Authenticated access: Discover and scan private and public repositories within the given account.
- Under Authentication Method, enter your private Docker Hub account credentials (Username and Password) for authentication.
- Public access only: Discover and scan images within a specific public repository.
-
Enter your public Docker Hub Repository Name.
To specify an official Docker Hub repository, enter
library/, followed by the short string used to designate the repo. For example, to scan the images in the official Alpine Linux repository, enterlibrary/alpine. -
Under Authentication Method, enter your public Docker Hub account user credentials (Username and Password) for authentication.
-
- Authenticated access: Discover and scan private and public repositories within the given account.
- Select Next.
Scan with Outpost
Security scanning is performed on infrastructure deployed to a cloud account that you own. This mode requires additional cloud provider permissions and may incur extra costs.
Prerequisite
Ensure an Outpost is connected to your tenant.
-
Choose a Cloud Provider to initialize registry scanning.
Note
If you choose Azure as the Cloud Provider, you must also select the Tenant Id. The Tenant Id is required to approve Cortex as an enterprise application in your Azure tenant.
-
Choose Outpost account to use for this instance. If no Outposts are shown, you can Create a new one. For more details, see Outposts.
Note
If you choose Azure as the cloud provider, only Outposts associated with the selected tenant ID are displayed.
- Select the Region where the registry is hosted.
- (Optional) Enable Allow access by IPs if you want to specify a static IP address for the scanner to use. Make sure the static IP is allowed through your firewall so that the scanner can access the registry during the scanning process.
- Choose the relevant Repository Access for scanning:
- Authenticated access: Discover and scan private and public repositories within the given account.
- Under Authentication Method, enter your private Docker Hub account credentials (Username and Password) for authentication.
- Public access only: Discover and scan images within a specific public repository.
-
Enter your public Docker Hub Repository Name.
To specify an official Docker Hub repository, enter
library/, followed by the short string used to designate the repo. For example, to scan the images in the official Alpine Linux repository, enterlibrary/alpine. -
Under Authentication Method, enter your public Docker Hub account user credentials (Username and Password) for authentication.
-
- Authenticated access: Discover and scan private and public repositories within the given account.
- Select Next.
Scan with Broker VM
Security scanning in private networks is done using broker VM infrastructure when you select this mode.
Prerequisite
- Choose a Scan with Broker VM mode to initiate registry scanning. You can select either a standalone Broker VM or a High Availability (HA) Cluster.
-
Select Applicable Broker VMs.
Choose the appropriate Broker VM or Cluster from the list configured in your tenant.
- The list of Broker VMs displays only VMs that support registry scanning.
- The list of high-availability Clusters displays only clusters that contain at least one VM supporting registry scanning.
- The registry scanning status for each VM appears in brackets if it was previously activated for that specific VM.
If the list does not display any Broker VMs or Clusters, Add New Broker VM or Add New Cluster. For more details, see Set up and configure Broker VM.
- Choose the relevant Repository Access for scanning:
- Authenticated access: Discover and scan private and public repositories within the given account.
- Under Authentication Method, enter your private Docker Hub account credentials (Username and Password) for authentication.
- Public access only: Discover and scan images within a specific public repository.
-
Enter your public Docker Hub Repository Name.
To specify an official Docker Hub repository, enter
library/, followed by the short string used to designate the repo. For example, to scan the images in the official Alpine Linux repository, enterlibrary/alpine. -
Under Authentication Method, enter your public Docker Hub account user credentials (Username and Password) for authentication.
-
- Authenticated access: Discover and scan private and public repositories within the given account.
-
Select Next.
- In Initial Scan Configuration, set your scanning process to focus on recently added or modified container images and exclude older ones that do not align with your current scanning objectives. This setting helps avoid unnecessary scans. Choose one of the following options:
- All: Scans all container images, including all versions (tags), in all discovered repositories.
- Latest Tag: Scans only images tagged 'latest' in all discovered repositories.
- Days Modified: Scans container images created or modified in the last few days. You can select a range of up to 90 days for the scan.
-
Select Save.
When the Docker Hub data source is saved, a new data connector is created, and the initial discovery scan begins. The connection process may take up to 15 minutes.
- To check the connector status and scan results, follow these steps:
- Navigate to Settings → Data Sources & Integrations.
- Find the Docker Hub instance from the list of 3rd Party Data Sources connectors, or use Search.
- In the Docker Hub instance row, select View Details. The Docker Hub Instances page appears.
- On the Docker Hub Instances page, you can filter results by any heading and value.
-
Select an Instance Name to open the details pane. The details pane contains the following granular information:
Instance Details Description Status Shows the status of the connector: Connected, Error, Warning, Disabled, or Pending. Applet Status on Broker VM Shows the status of the Registry Scanner applet on the Broker VM page. This status is visible only when the Scan with Broker VM mode is selected. Repositories Shows the number of scanned repositories in the registry. Scan Mode Shows the selected scan mode for the data connector, such as Cloud Scan, Scan with Outpost, or Scan with Broker VM. Security Capabilities Shows a breakdown of the security capabilities enabled on the instance and their individual statuses. For example, select Registry Scanning when it shows a warning or error status to see the open errors and issues that contributed to the status.
-
After the scan is complete, you can view the scanned images on the Container Images Inventory page. For more details, see Container Image assets.
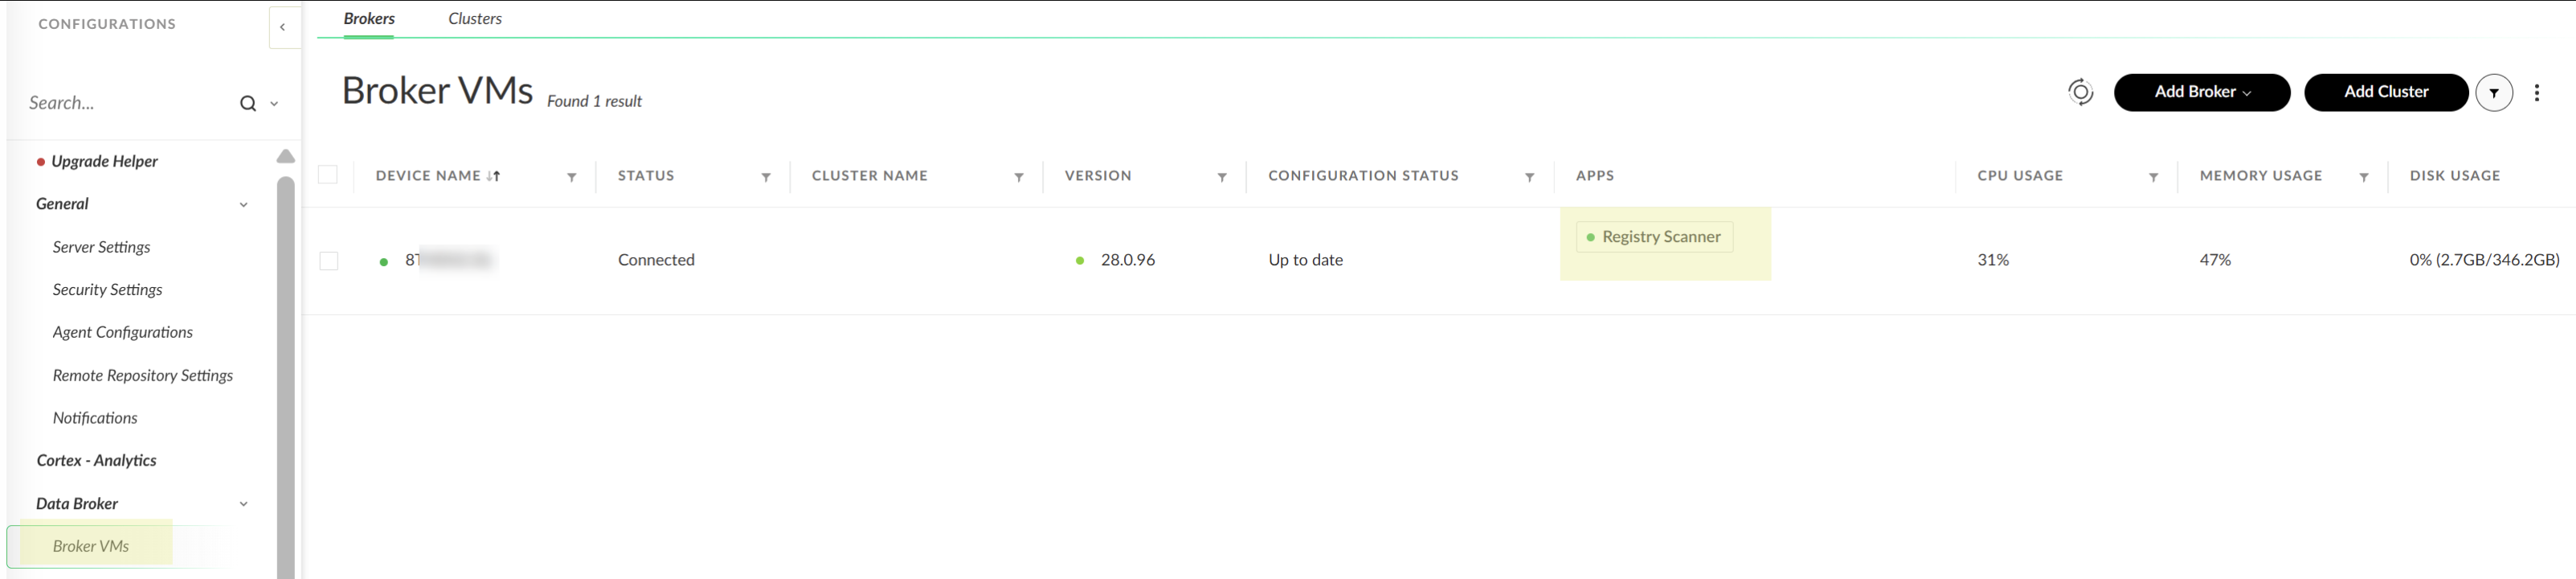
If you have selected the Scan with Broker VM option, then a Registry Scanner applet is created on the selected Broker VM or Cluster. For details, see Verify Registry Scanner connection.